I’ve been hunting for a dresser for my son for over a month. Visiting thrift stores and stalking IKEA’s website, while were fun, didn’t net anything realistic. On Friday night, as we rushed in to our 6th thrift store of the evening I saw a filing cabinet. Old, slightly beat up file cabinet. I wondered to myself if it would work. $25? Well, that and a few cans of spray paint would be cheaper than something I’d have to assemble from Target or IKEA. I left the cabinet there but while mind surfing the next day I thought to check the Interwebs to see if it really was as easy as it seemed.

I dropped a tweet and headed out on my mission, Instagramming along the way like a good little digital storyteller.
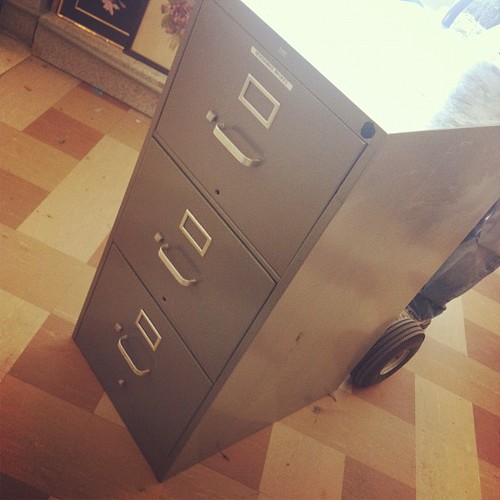
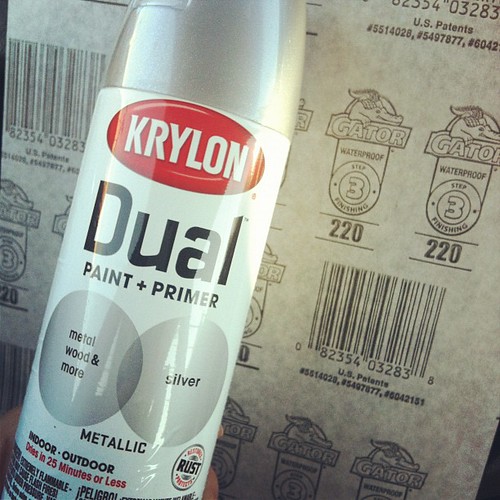
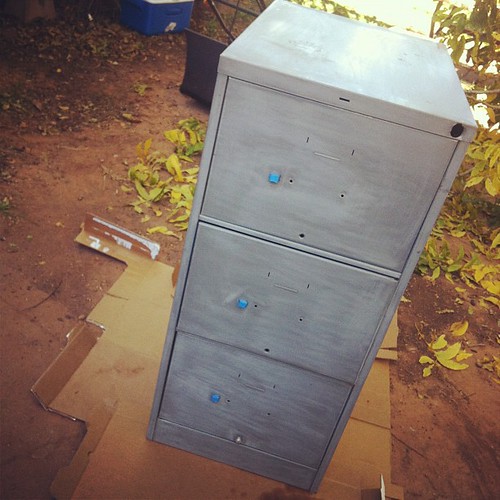
It really was as simple as you’d think it was. Buy a cabinet (turns out it was 1/2 off, so $12!), buy some sandpaper and paint (I bought two spray primer/paint combos that were $6 a can, but you could buy those separately if you wish), remove all hardware you don’t want painted, protect the area your painting (and yourself) and spray away. This took about 2 hours but would have taken a LOT less time if I could have found my palm sander. Be sure to wipe off the sanding dust with a dry cloth, then a slightly damp one. That’s it.
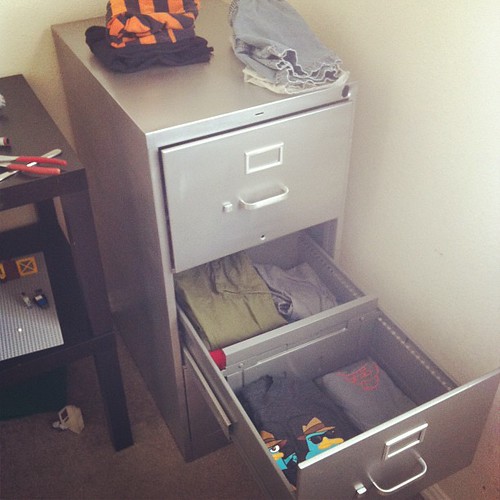
A dresser for $25 that will hold a TON of clothing. It will probably hold toys, too.
I had a friend on Facebook chastise me for buying the cabinet because he has several unused ones at his office he would have given me for free. I think my bonus son wants to make one for his room, too.

Speak Your Mind